Printing charts in Excel can be a very useful tool for presenting data analysis and visualizations to others. However, sometimes you may want to print only one chart on a whole page, instead of having multiple charts squeezed onto one page. This is where VBA comes in handy. In this article, we will explore the steps and code required to print only one chart on a whole page in Excel using VBA.
1. How To Print Only One Chart On A Whole Page In Excel VBA Steps.
1.1 Step 1: Create the Chart.
- The first step is to create the chart that you want to print on a whole page.
- To do this, select the data that you want to use for your chart and click on the “Insert” tab.
- Then, select the type of chart that you want to create from the options available.
- Once you have created the chart, give it a name that you will use later in the VBA code.
1.2 Step 2: Open the VBA Editor.
- The next step is to open the VBA editor.
- To do this, press Alt + F11 or go to the Developer tab and click on the “Visual Basic” button.
- This will open the VBA editor window.
1.3 Step 3: Insert a New Module.
- Once you have opened the VBA editor, you need to insert a new module.
- To do this, go to the “Insert” menu and select “Module”.
- This will open a new module window.
1.4 Step 4: Write the VBA Code.
- Now it is time to write the VBA code that will print your chart on a whole page.
- The code should be entered into the new module that you created in Step 3.
- First, you need to declare the variables that you will be using in the code.
- These variables will contain information about the chart, such as its name, location, and size.
- Here is an example of how to declare these variables:
Dim cht As Chart
Dim chtObj As Object
Dim chtName As String
Dim chtLeft As Double
Dim chtTop As Double
Dim chtWidth As Double
Dim chtHeight As Double
- Next, you need to set the values for these variables.
- This will involve finding the chart that you created in Step 1 and determining its location and size on the worksheet.
- To get your char name, you can click to select the chart and then see it’s name in the Name Box text box located on the upper-left corner of excel.
- Here is an example of how to set these values:
chtName = "Chart1"
Set chtObj = ActiveSheet.ChartObjects(chtName)
Set cht = chtObj.Chart

chtLeft = chtObj.Left
chtTop = chtObj.Top
chtWidth = chtObj.Width
chtHeight = chtObj.Height
- Once you have set the variables, you can use them to print the chart on a whole page.
- Here is an example of how to do this:
With ActiveSheet.PageSetup .PrintArea = "" .Orientation = xlPortrait .LeftMargin = Application.InchesToPoints(0.5) .RightMargin = Application.InchesToPoints(0.5) .TopMargin = Application.InchesToPoints(0.5) .BottomMargin = Application.InchesToPoints(0.5) .HeaderMargin = Application.InchesToPoints(0.5) .FooterMargin = Application.InchesToPoints(0.5) End With ' select the chart object. chtObj.Select ' show the chart print preview in excel. ActiveWindow.SelectedSheets.PrintPreview ' print the chart in one whole page. ActiveWindow.SelectedSheets.PrintOut Copies:=1, Collate:=True, _ IgnorePrintAreas:=False - This code sets the page margins to 0.5 inches and then selects and prints the chart on a whole page.
- Below is the whole source code for the module.
Sub Print_Chart_In_One_Whole_Page()

    Dim cht As Chart
    Dim chtObj As Object
    Dim chtName As String
    Dim chtLeft As Double
    Dim chtTop As Double
    Dim chtWidth As Double
    Dim chtHeight As Double

    chtName = "Chart-1"
    Set chtObj = ActiveSheet.ChartObjects(chtName)
    Set cht = chtObj.Chart

    chtLeft = chtObj.Left
    chtTop = chtObj.Top
    chtWidth = chtObj.Width
    chtHeight = chtObj.Height

    With ActiveSheet.PageSetup
        .PrintArea = ""
        .Orientation = xlPortrait
        .LeftMargin = Application.InchesToPoints(0.5)
        .RightMargin = Application.InchesToPoints(0.5)
        .TopMargin = Application.InchesToPoints(0.5)
        .BottomMargin = Application.InchesToPoints(0.5)
        .HeaderMargin = Application.InchesToPoints(0.5)
        .FooterMargin = Application.InchesToPoints(0.5)
    End With

    ' select the chart object.
    chtObj.Select

    ' show the chart print preview in excel.
    ActiveWindow.SelectedSheets.PrintPreview

    ' print the chart in one whole page.
    ActiveWindow.SelectedSheets.PrintOut Copies:=1, Collate:=True, _
        IgnorePrintAreas:=False


End Sub
1.5 Step 5: Test the Code.
- Now that you have written the VBA code, it is time to test it to ensure that it works correctly.
- To do this, go back to the Excel worksheet that contains the chart and click on the “Run” button in the VBA editor and select to run the module with the name Print_Chart_In_One_Whole_Page .
- This will execute the code and print the chart on a whole page.
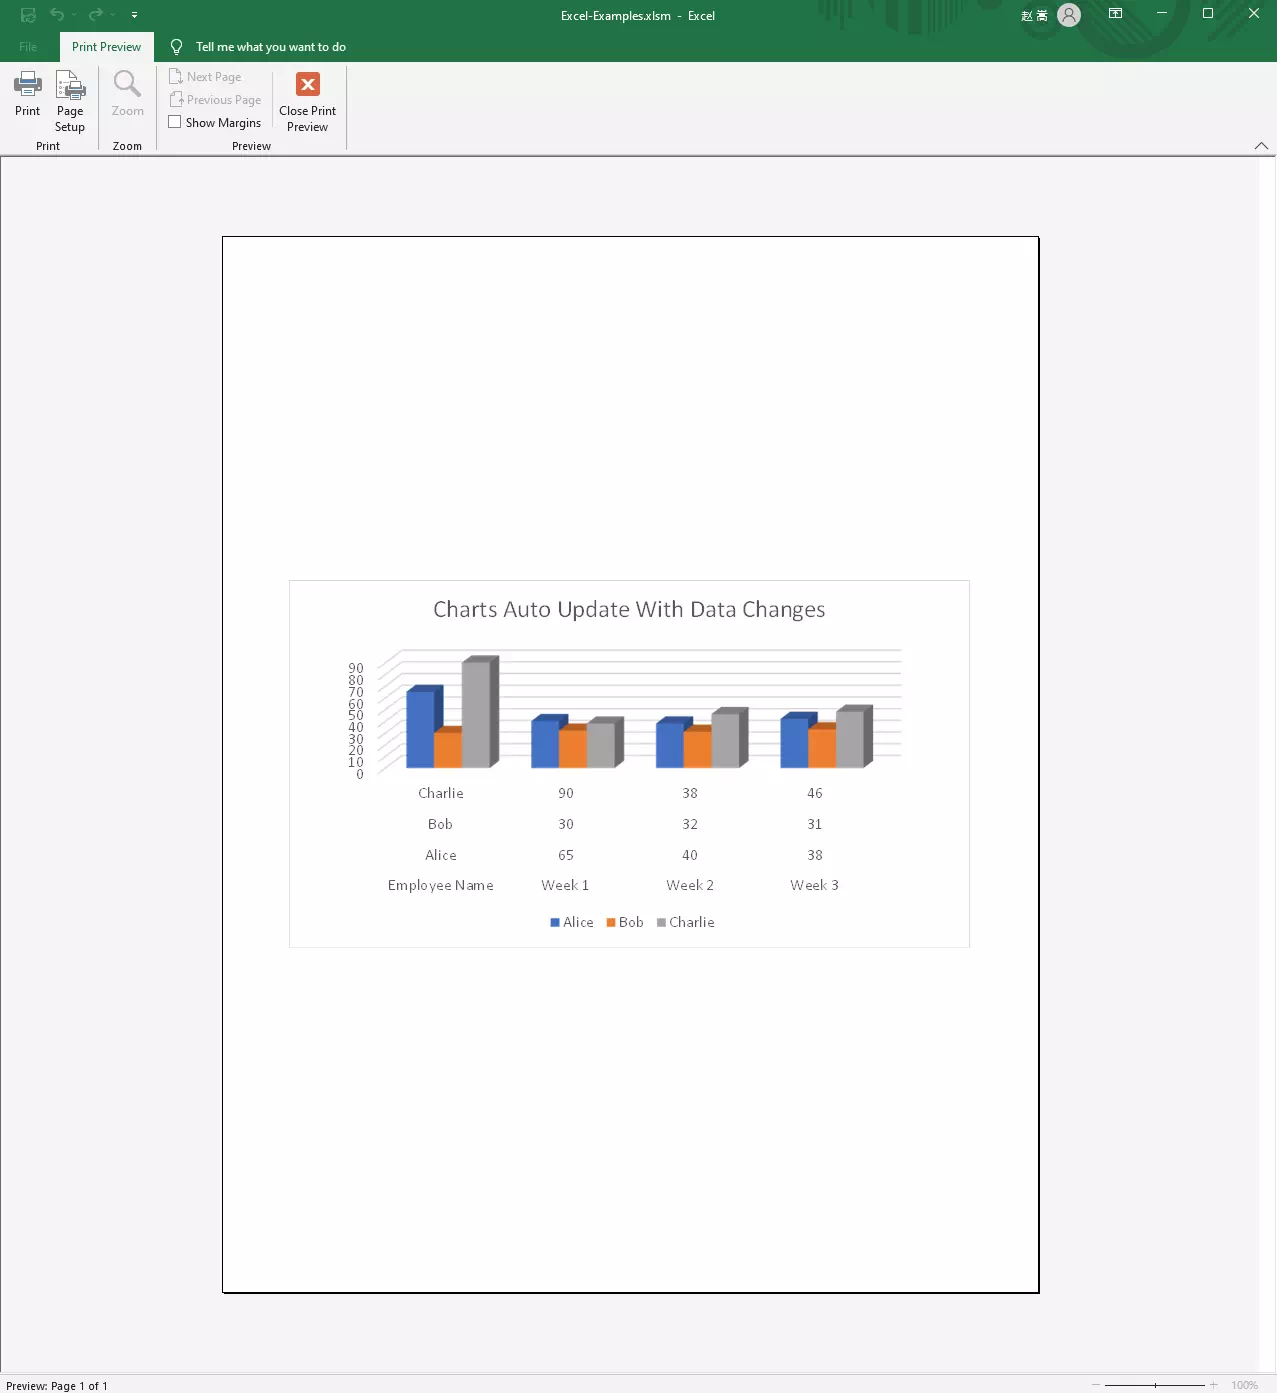
- Below is the print preview of the example chart.
- If there are any errors, go back and check the code to see if you missed anything.
2. Conclusion.
- Printing only one chart on a whole page in Excel can be a very useful tool for presenting data analysis and visualizations.
- With VBA, this process can be automated to make it quick and easy.
- By following the steps outlined in this article and using the example code provided, you can easily print your charts on a whole page in just a few lines of code.
References: